Summary
- come early to get used to the camcorder
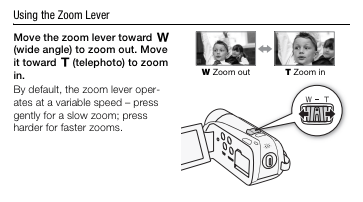
- frame the picture (zoom)
- set the camera in Auto mode (button on left-hand side)
- record every prepared speech
- record requested meeting reports
Download this checklist to use during the meeting.
What to record
Record every prepared speech.
Record other reports on request: before the meeting starts or during the break, ask the following role-holders if they’d like a video of their report:
- Speech Evaluators (3-4)
- Table Topics Evaluator
- Grammarian
- General Evaluator
Reassure them that the video is for their benefit only and will not be made public.
Zoom setting
Set zoom before the meeting starts.
Include the entire width of the stage that someone could walk to.
You shouldn’t have to move the camera during recording.
Why? This is so that the person can see how they move across the stage from the point of view of the audience. They will also see how their body moves during their delivery. The video will be cropped on editing, if necessary.
How to record
Record each segment as an individual video – by stopping (pausing) and starting (resuming) between each.
For each recording:
- start recording when the applause begins
- sit down and enjoy the speech – stand up before the speech ends
- pause recording when the applause ends
How to use the camcorder
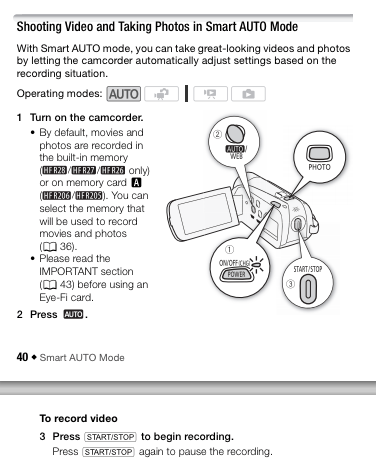
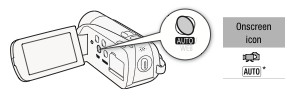
Auto mode
Set the camcorder to AUTO mode.
Using zoom
Recording
Press Start/Stop to start/pause recording.